How to rename your Notes?
Do you ever find yourself rushing patient to patient, and don't have time to review your generated notes right away? Then you too probably end up with a long list of notes in your history that all start to look the same.
Changing the title, either as the note is getting generated, or from the history view itself, can help.
Note: In the article below, we've used images of our chrome extension, but you can rename notes on any of our platforms: either the chrome extension, the desktop app or the mobile app.
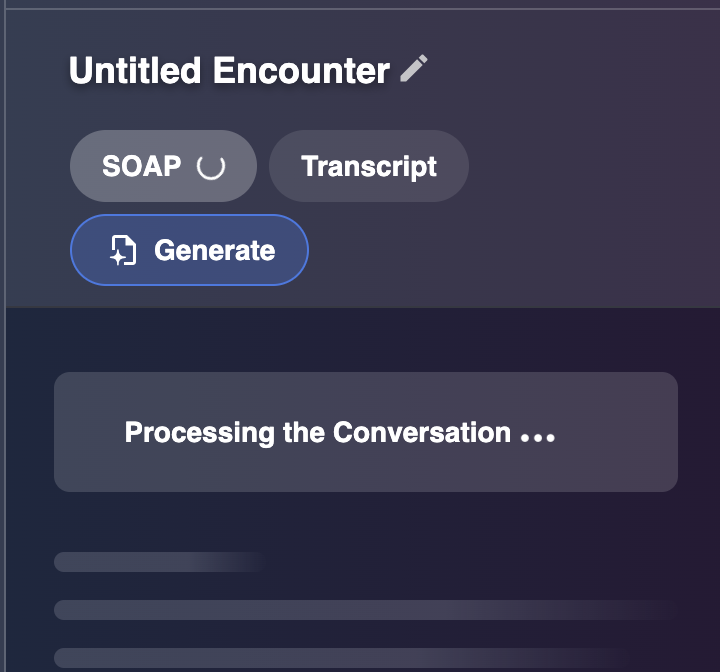
Renaming notes while they are being generated
You can rename the note even before it is generated:
-
Use the AI Scribe as usual
-
Once you have clicked the Done button to generate the note, you'll see be presented with the note generation
-
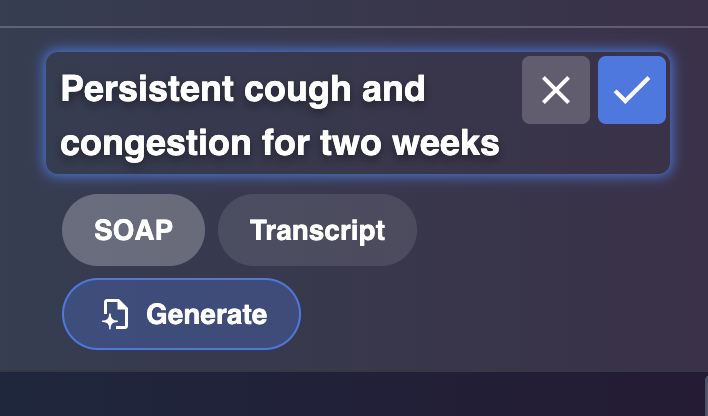
Click on the title that is in place and start typing the new title::
Renaming notes once they are generated
You can rename the note once it is generated:
-
Use the AI Scribe as usual.
-
Once the note is generated, click on the title that is in place and start typing the new title:
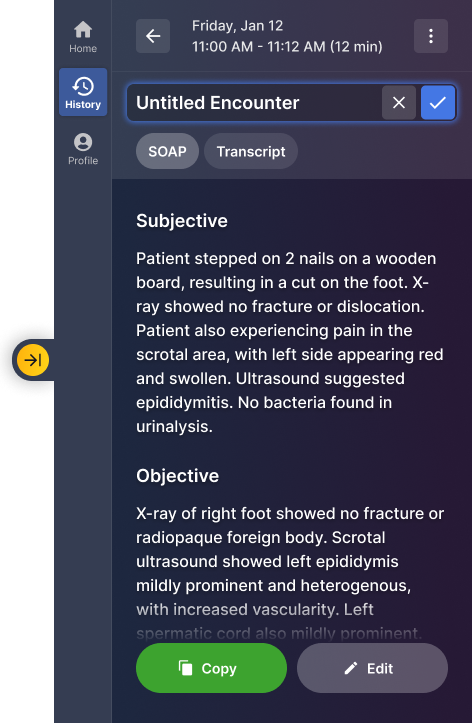
Renaming notes in your History
To help you keep track of which note is which, you can rename the notes in your history. To do so:
-
Click the History button in the left navigation panel
-
Find the Encounter in your History that you wish to rename
-
Click on the Encounter
-
Click on the title that is in place and start typing the new title