Watch the full Accuro Note Recording Workflow video here.
Launch Tali and select a patient
- Click Tali AI on the Quick Bar in the bottom-left of Accuro.

- Tali will launch on a separate screen, displaying your full list of appointments for that day.
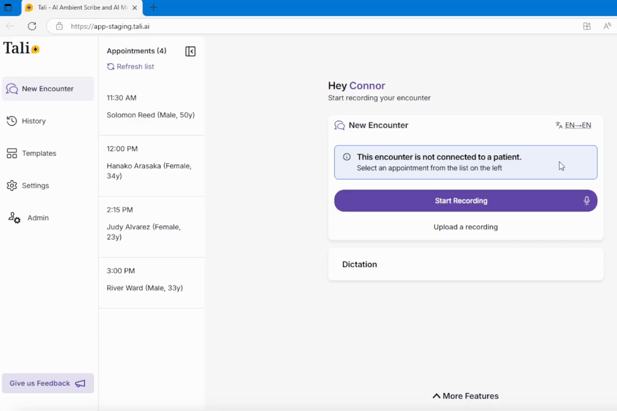
- Select the appointment to link Tali to the patient's chart. The patient's context will appear.

Generate the note
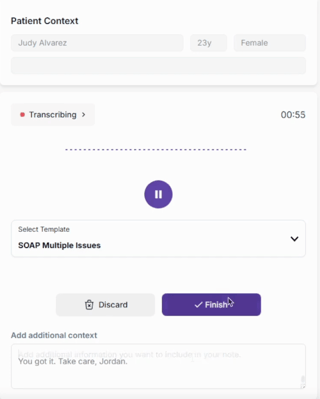
- Begin recording and speak with the patient as you normally would.
- If needed, copy and paste extra information into the Additional context box. This information might include lab results, medication lists, or pre-screening notes.
- When ready, click Finish. Tali will generate the note.
Review and transfer to EMR
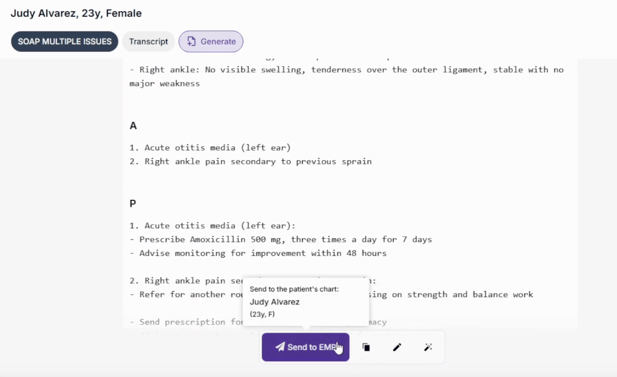
- Review and refine the generated note in Tali.
- Once you are satisfied with the note, click Send to EMR. Tali will post the note directly to the patient's chart.
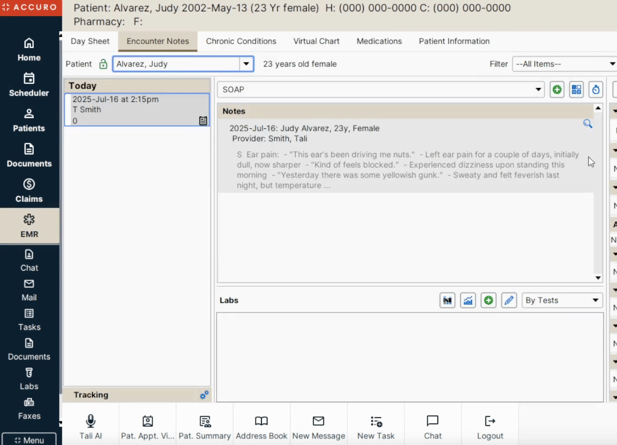
- Navigate back to Accuro and go to EMR
- Open the patient's chart to view or edit the note as you normally would inside your EMR.
Move to the next patient
To start the process for your next patient, simply return to the Tali AI browser tab or click the Tali AI button in your Quick Bar.